Friday, November 26, 2010

Sacred Art and Liturgy - Part Two


The influence of Franciscan spirituality gave a renewed meaning to earthbound reality and triggered a major transformation in  art history. Begining with Giotto, artists began to focus on created reality as a source for artistic inspiration. The artists that followed him in this development continued to paint the Resurrection, which was now imbued with a new significance as artistic developments came to be applied to old models. In the Scrovegni Chapel, Giotto’s inclusion of the sleeping soldiers in his Noli Me Tangere (above) is interesting as it suggests that Jesus has just exited the tomb. This image has its origins in the Rabbula Gospel mentioned in the last post.

The first image of the Resurrection as a “snapshot” of an actual event is in Pietro Lorenzetti’s Resurrection of 1320,  followed a few years later by Ugolino di Nerio in his Santa Croce Altar piece of 1324.


Artistically influenced by Giotto, in these paintings Christ continues to be earthbound, his burial cloth hanging from his limbs as he steps up and out of his tomb. The soldiers sleeping at his feet inhabit the same realistic space. This particular scene, being non-scriptural, has been rejected in traditional Orthodox imagery. Yet, Jesus did exit from the tomb, it was an event that happened, and therefore within the canon of Occidental art it is perfectly acceptable.

Between 1300 and 1500, this new version of the  Resurrection continues to be a dominant theme in the artistic oeuvre. Fra Angelico depicts the traditional themes of Resurrection in the developing western style. His Harrowing of Hell is a straightforward and rather uninteresting scene of Christ freeing Adam and others from Hades . 


In Fra Angelico’s Christ Resurrected and the Maries at the Tomb, he includes the figure of Christ in a glorious mandorla hovering above the open sarcophagus.


Piero della Francesca takes Ugolino’s model and gives it new life.  Piero’s figures have a very specific individuality and are set into a precise illusionistic space. 


This depiction of the body of Christ, both strong and tender, exiting from his earthly tomb, becomes the model for Western artists’ depiction of the Lord for the next several hundred years.

Titian 1544

Tintoretto 1579

Cecco da Carravaggio 1619


Noyel Coypel 1700


Carl Bloch 1881

 Tissot 1882


Monday, November 8, 2010

Sacred Art and Liturgy - Part One.

I recently finished writing my thesis, titled The Resurrection in Art and Liturgy. This thesis and the resulting project arose as a result of my reflection upon the chapter on “Art and Liturgy” in Cardinal Ratzinger’s book The Spirit of the Liturgy. Specifically, it is first a response to a statement that our Holy Father makes: “All sacred images are, without exception, in a certain sense images of the Resurrection, history read in light of the Resurrection.” Later, after a discussion of the theology of the icon he asks, “Is this theology of the icon, as developed in the East, true? Is it valid for us?”

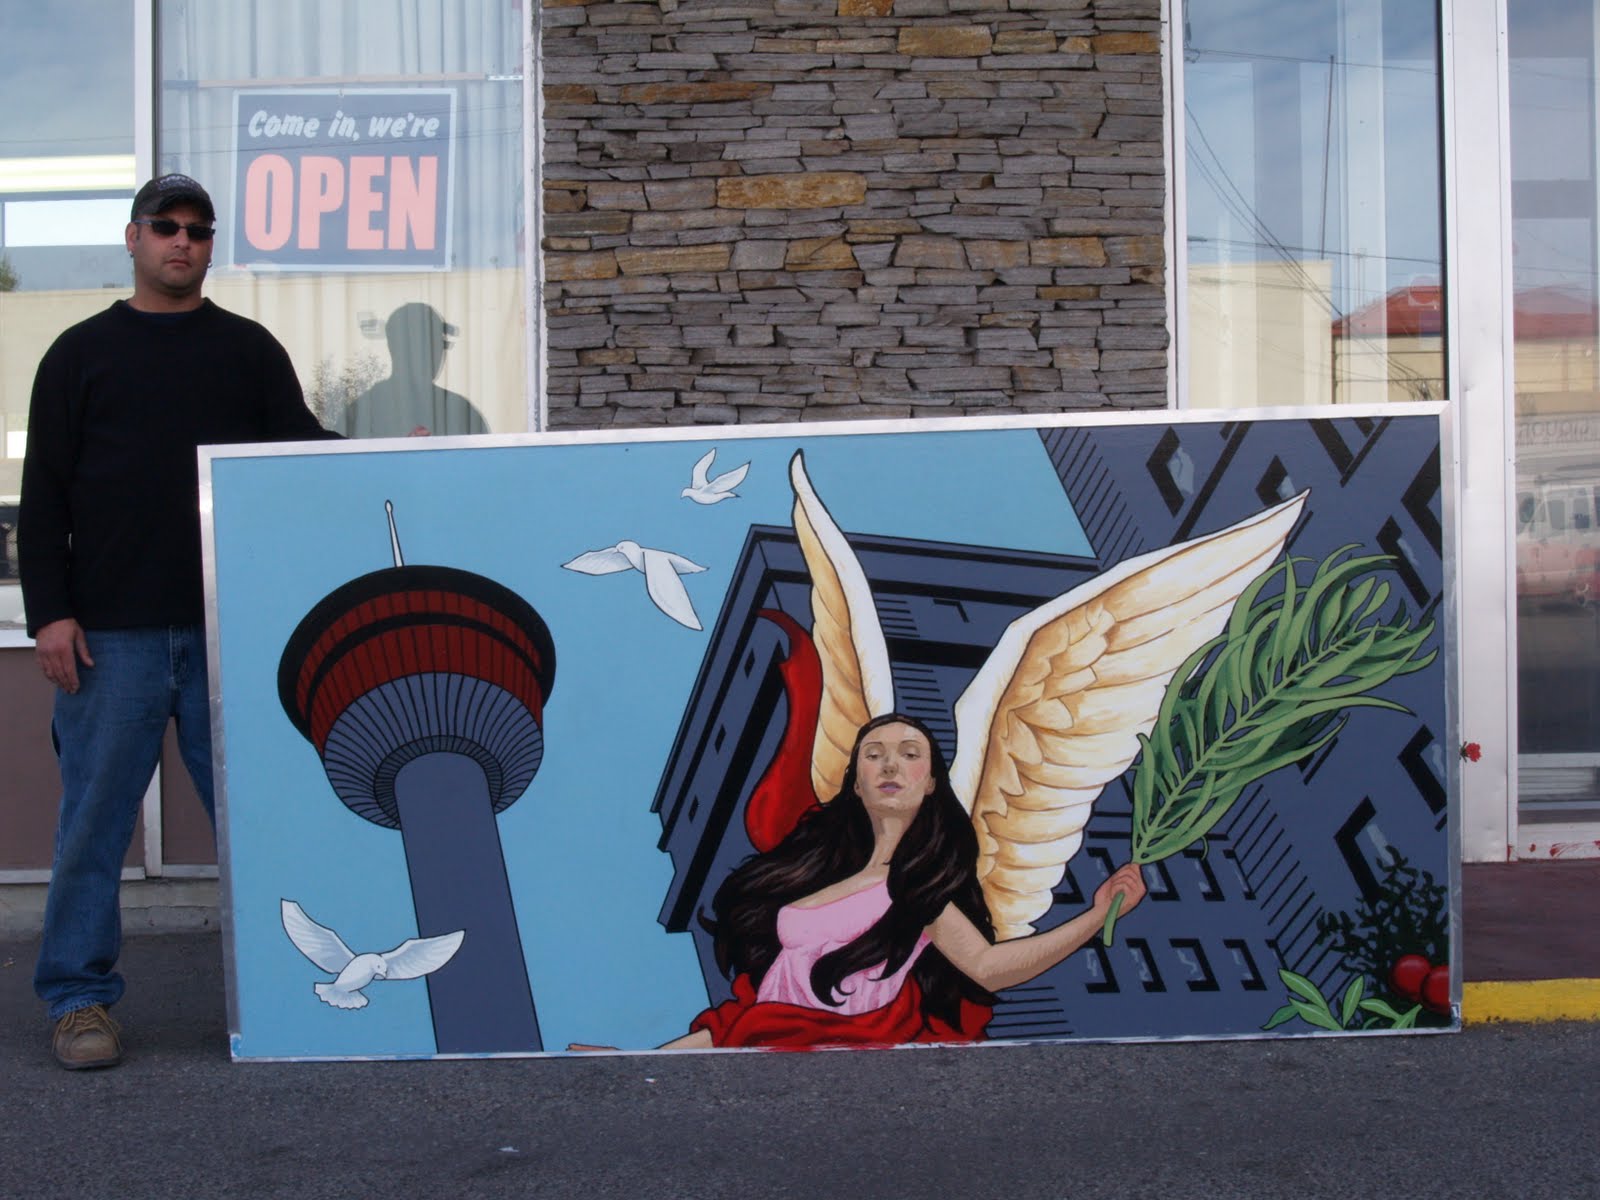
In order to respond, I investigated the development of early Christian art, when the Church was still unified, and studied the connections to theological and cultural developments. I researched the history of the icon in order to understand its context in the Eastern Church. From this arose the idea to combine the Orthodox and the Catholic traditions in one painting of the Resurrection, an image that could be a part of the liturgy in the same way an icon is, but one that uses the traditions and language of beauty developed by the Western masters of the past 1000 years.

Early Christian faith was anchored in Christ’s Resurrection. The actual episode of Christ’s Resurrection is not narrated in the Gospels, and for this reason we do not see it illustrated until much later in Christian art. Jesus raising Lazarus is the most frequent image in the catacombs that, along with the story of Jonah, refer to the Resurrection come alive.


Depictions of events surrounding the Resurrection are also familiar in all Gospels. We read of the three Mary’s at the tomb, based on the accounts described in Mark 1, which is the first recorded event that took place with reference to the Resurrection. First images of these myrrh-bearing women date back to the year 230.


The earliest Christian artists shared their hope and faith through illustration of scripture. The Sarcophagus of Domatilla of the 5th Century uses the Chi-ro symbol above the cross to illustrate the Resurrection and Crucifixion as one event.


The Rabbula Gospel of 586 is unique in that it depicts both the Crucifixion and the Resurrection, the oldest treatment in Christian iconography.


Depictions of the Resurrection of Christ came to be represented by the descent of the Saviour into Hades. Called the Anastasis or Harrowing of Hell, it is based on I Peter 3:18-20 and the Apostles' Creed which states that Christ “descended into Hell” before his Resurrection. For the early Church this came to be the icon of the Resurrection and continues to be so for the Orthodox Church today.

Thus, Holy Tradition has shown us that the quintessential icon of the resurrection was the Descent into Hades where Christ with His soul and divinity went down to Hades and shattered the gates, freeing the souls of those awaiting him. This icon then does not represent an historical event but rather the dogma of the abolition of Hades and death and the resurrection of all humanity.

By the 11th Century, the composition for the Descent into Hades is set:

This iconographic type represents the Lord in Hades surrounded by a radiant glory; He is trampling upon the demolished gates of Hell and bears in His left hand the Cross of Resurrection, while with His right hand He raises from sarcophagus Adam, who represents the human race.


Fine examples of the Descent into Hades from this time are found in the monasteries of Hosios Loukas ,Phocis, Nea Mony and Daphni all in Greece, and the churches of San Marco in Venice.


In the next post I will look at the influence of Franciscan spirituality that gave renewed meaning to earthbound reality and shifted the entire focus of Western art, inspiring a new interpretation of the Resurrection.


Tuesday, November 2, 2010

Creating a Caravaggio - The Painting Stage

The first step in the painting stage is called dead colouring. In this stage, each element of the painting receives a coat of opaque paint. One colour for the part in light and one colour for the part in shadow. This is the overall average colour of an area that sets up the big relationships between all the parts. It is this big relationship that carries the painting and guides the addition of later details. Notice for example, in the image below, how the flesh colour of the head and hands is both darker and redder than the flesh of the torso.
The medium used here is one part linseed oil to three parts damar varnish.


Next, in the first painting stage, we focus on creating the illusion of form with colour. This is the stage in which all the variations are placed into the simplified earlier stage. The look should be one of a mosaic of colour with little or no blending. The medium used is one part linseed oil to two parts damar varnish.


Finally, in the second painting stage, the colours are replaced and attention is payed to the subtlety of blending. The goal is to recreate in paint all the various textures. The medium is one part linseed oil to one part damar varnish.


Once the painting has dried take a look at the overall effect. Some parts may need repainting. Often a simple glaze or tone of color will achieve the desired look- either darkening some part or softening an edge here and there.

Make sure you wait six months to a year to apply the final varnish.

Saturday, August 14, 2010

Creating a Caravaggio -The Drawing Stage


As a follow-up to the post " The Perfect Painting Method," I thought I would share with you that method put to work in a copy of Caravaggio's St. Jerome.

The first step is the drawing (above) which in this case was done by making a grid copy of a print of the original. The drawing should be a simple two-value silhouette, focusing on the light and shadow pattern of the image. This simple image is the starting point to organize the complex visual information of reality.

Next, transfer this drawing onto a canvas that has been toned to a mid value (here, Old Holland burnt umber mixed with a little lead white was used). Once this campitura has dried (the longer the better), you can transfer the drawing. This is done by tracing the image onto tracing paper, rubbing charcoal on the back of the tracing, placing it on top of the canvas and going over the lines of the drawing so the image transfers to the canvas. Often, there are traces of charcoal dust that end up staying on the canvas. This is easily removed by blowing or brushing it away.


Finally, reinforce the lines and flll in the darks using raw umber thinned with turps.


In the next post I will describe the stages of painting.

Saturday, August 7, 2010

Forgotten Master - Henrique Medina 1901 – 1988


Henrique Medina was born in the small Portuguese fishing village of Esposende, part of the same town that my father came from. I learned about him through family friends, who had a copy of his catalogue raisonne. I later found and visited the studio he built in Esposende where he spent the last years of his life.


Medina began his studies at age 13 at the Oporto School of Fine Arts, an institution that continued to teach the lessons of its 19th century academic origins. Having completed his studies by the age of 18, Medina moved on to Paris, studying under Carmon and Bernard. By 1929 he had painted the portraits of the Portuguese president Almirante Canto, Cardinal Manual Cerejeira and a number of society portraits in Lisbon and Porto. Later he worked in London and in Italy, where he painted Mussolini’s portrait in 1931. Medina spent World War II in the Americas: first Brazil, then Argentina and finally the US. He has left to the museums and collections of these countries a number of works. While in the US he befriended Charlie Chaplin, Walt Disney and Mary Pickford among others. It was at this time he painted the portraits of Dorian Grey for the film of the same name and one of Greer Garson for the film “Mrs. Parkington”. Returning to Portugal in 1946, he continued his portrait career for dignitaries throughout Europe including a portrait of Pope John Paul II in 1982. With his personal work Medina was a painter of individuals, particularly characters from the Minho and Douro the country north of Oporto.


If you ever get a chance to visit northern Portugal, be sure to visit the Medina Museum next to the city hall in the city of Braga and his studio in the town of Esposende. You can also find his work in the Palacio da Bolsa in Oporto and in the Museu do Chiado in Lisbon. Click here for a YouTube video of his paintings of women.

Monday, July 26, 2010

The Perfect Painting Method


The terminology I use in describing the painting stages comes from Thomas Bardwell’s 1756 book “Anecdote of Painters”. This is the first book published in Britain giving a detailed and comprehensive set of instructions for a method of oil painting. Bardwell stated that he discovered his method by studying the art of the past.

Bardwell’s “perfect painting method” involves the following stages:

Dead Colouring
- a flat colouring applied over a preparatory drawing.
- a broad and simple manner using large brushes.
- omit details and blur edges.
- thick in lights and thin in darks.
- aim for the general effect of colour and chiaroscuro.

First Painting
- the first step is the creation of the illusion of form called “big form modeling”.
- next begin the description of the planes and details upon them.
- attention is paid to refining shapes, shades and variety of tints.
- paint is laid on without blending so the final affect is like a mosaic.
- “fat over lean” - this layer contains more oil in the medium than previous.
- lights thick, shadows thin.

Second Painting
- the finishing stage, again fat over lean.
- a thin couch of paint is used to cover the thicker first painting and each area is repainted with an attention to subtle blending
and modeling.

Glazing and Toning
- In this final stage very light layers of transparent or semi – transparent paint are applied over an area which needs to
adjusted, either darked or softened slightly.
- Titian, when asked how he completed his paintings, replied “Velatura, trenta o quaranta” (Glazes, thirty or forty).

Click twice on the painting of Simona above for a close up look at all the stages. Her left cheek is the only part second painted. The right eye is still in the drawing stage while the right check is described simply with front and side planes. The rest of the head is first painted. The campitura is the coloured ground that I started upon. Here it was Old Holland burnt umber and lead white.

Sunday, July 11, 2010

Building a Mural- Part 3

In this last post on the painting of a mural, I am going to share some pictures of the work in progress. This project was a tremendous learning process, particularly with regards to working within a budget, on a large scale and in a set time frame. During the painting stage I had 6 assistants working with me at various times.

Once the sketch was finalized, it was gridded and transfered to the panel. The panels used were plastic, reinforced with a metal frame and coated with an etching primer which provided an excellent surface to paint on.


Next is the big colour lay-in:


Since we were using acrylics and latex paint blending colours was difficult. In order to model the forms and add smaller details, we crosshatched both lighter and darker colours on top of the lay-in. Notice the addition of the head on the upper left side that was not in the original sketch. The client asked that I include my self portrait as I had done in a previous mural I had painted for them.


The panels before and during installation:


The mural, "An Allegory of Peace in Our Time", is situated along International Avenue (4015 17 Ave. S.E.) in Calgary, Alberta, Canada.

Tuesday, July 6, 2010

Annigoni and the Cadaver

Inspired by the blog entry "Cadaver on the Cross" over at Gurney Journey, I thought I would relay the story of Pietro Annigoni's use of a dead body for a crucified Christ figure in two of his works. As told by Micheal John Angel, in 1939 Annigoni was painting a number of frescoes in the Monastery of San Marco when he heard about the death of a 30 year old Sicilian in a motorino accident outside Florence. Needing a model for Christ, he asked the authorities for the body on the condition that the monks at San Marco would take care of the burial. He strung the body up in his studio where rigor mortis started to set in while he sketched away. These sketches were worked up into a cartoon that he used for this fresco:


Thirty years later, Annigoni used the same cartoon for his fresco of the Deposition and Resurrection at the church in Ponte Buggianese, a small town just outside Florence:

Saturday, June 26, 2010

Building a Mural Part 2

In the first entry of this series I went through the steps I took to come up with an image of world peace. Once the sketch was approved I began photographing models.


With photos of all the models and various reference I refined the sketch into a more interesting drawing.


This sketch was scanned into the computer and using photoshop a number of colour studies were tried:

Double complimentary (orange with blue and red with green) colour scheme:


Triad (red, yellow, blue) with light background:


Triad (red, yellow, blue) with a near complimentary counterpoint (green-orange) and dark background:


This last version is the one that we choose to use. In the next entry I will show the painting and installation of the mural.